
In this post, we will see How to deploy the Spring Boot application using Docker.
How to install Docker on Windows
Go to the below site.
https://docs.docker.com/desktop/install/windows-install/
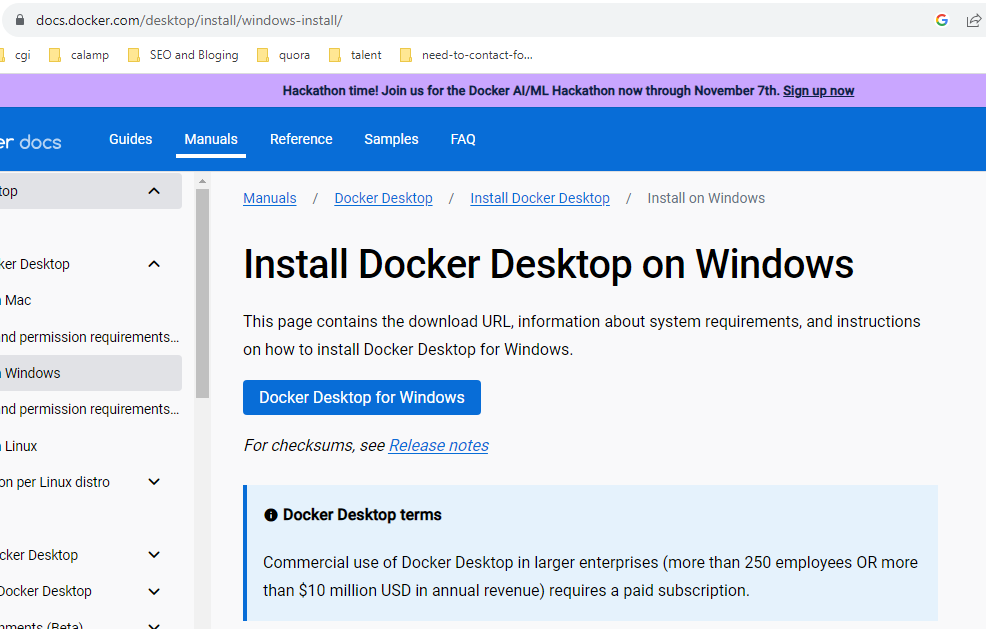
Click on docker desktop for window
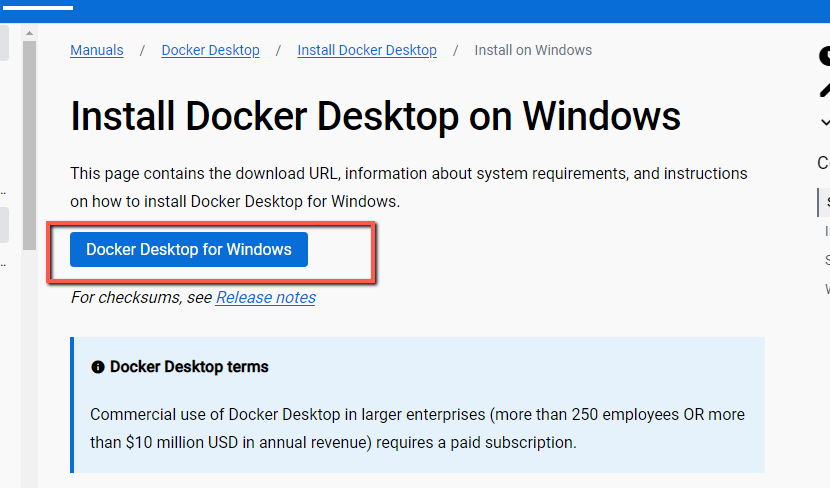
Download and install the docker
Restart your machine.
You should be able to see the docker desktop icon on the desktop.

Double-click on the docker desktop icon and start it. Accept the license term.
Note – If you see any error i.e docker desktop requires a newer wsl kernel then open cmd(run as administrator) and run wsl –update command.
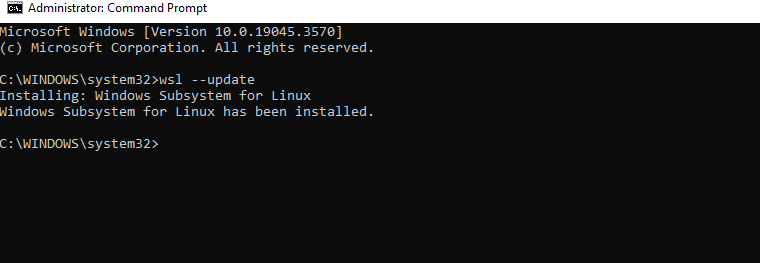
Again restart the docker desktop. We should able to see below screen

We can also verify using cmd. Open cmd or git bash and type the docker command to see if it is installed successfully or not

Create a simple Spring Boot Application
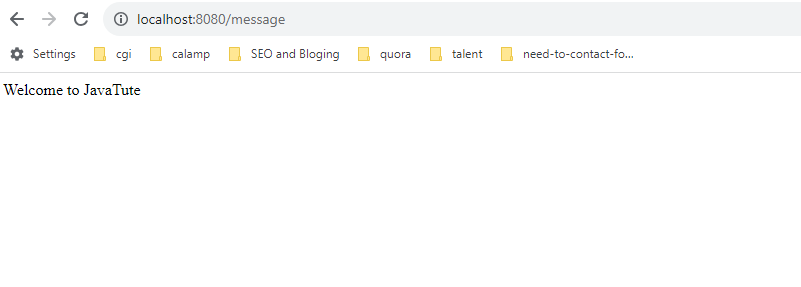
Create a Spring boot application that returns some string using some API http://localhost:8080/message
Create a maven project.
pom.xml
<?xml version="1.0" encoding="UTF-8"?>
<project xmlns="http://maven.apache.org/POM/4.0.0"
         xmlns:xsi="http://www.w3.org/2001/XMLSchema-instance"
         xsi:schemaLocation="http://maven.apache.org/POM/4.0.0 http://maven.apache.org/xsd/maven-4.0.0.xsd">
    <modelVersion>4.0.0</modelVersion>

    <parent>
        <groupId>org.springframework.boot</groupId>
        <artifactId>spring-boot-starter-parent</artifactId>
        <version>2.3.4.RELEASE</version>
        <relativePath/> <!-- lookup parent from repository -->
    </parent>
    <groupId>com.javatute</groupId>
    <artifactId>docker-first</artifactId>
    <version>1.0-SNAPSHOT</version>

    <properties>
        <maven.compiler.source>8</maven.compiler.source>
        <maven.compiler.target>8</maven.compiler.target>
    </properties>

    <dependencies>
        <dependency>
            <groupId>org.springframework.boot</groupId>
            <artifactId>spring-boot-starter-web</artifactId>
        </dependency>
        <dependency>
            <groupId>org.springframework.boot</groupId>
            <artifactId>spring-boot-starter-test</artifactId>
            <scope>test</scope>
            <exclusions>
                <exclusion>
                    <groupId>org.junit.vintage</groupId>
                    <artifactId>junit-vintage-engine</artifactId>
                </exclusion>
            </exclusions>
        </dependency>
    </dependencies>


    <build>
        <plugins>
            <plugin>
                <groupId>org.springframework.boot</groupId>
                <artifactId>spring-boot-maven-plugin</artifactId>
            </plugin>
        </plugins>
        <finalName>${project.artifactId}</finalName>
    </build>

</project>
Note – We have given <finalName>${project.artifactId}</finalName>, will help to create a jar file with the artifact name when we run mvn clean install to build our spring boot application.
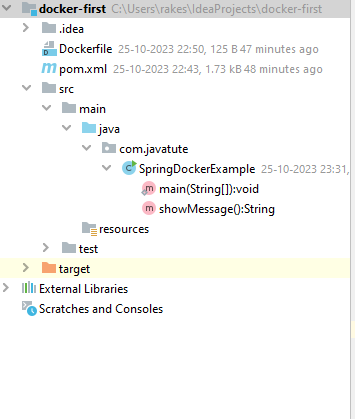
Define SpringDockerExample.java
package com.javatute;

import org.springframework.boot.SpringApplication;
import org.springframework.boot.autoconfigure.SpringBootApplication;
import org.springframework.web.bind.annotation.RequestMapping;
import org.springframework.web.bind.annotation.RestController;

@SpringBootApplication
@RestController
public class SpringDockerExample {

    public static void main(String[] args) {
        SpringApplication.run(SpringDockerExample.class, args);
        System.out.println("Hello Docker");
    }

    @RequestMapping("/message")
    public String showMessage() {
        return "Welcome to JavaTute";
    }

}
Go to directiry where we have code. For example C:\Users\rakes\IdeaProjects\docker-first and build project using mvn clean install using cmd or git bash.
We should able to see jar file with name docker-first.jar

How to create an image file using docker and deploy Spring Boot application using Docker
We have installed Docker successfully and created a simple spring boot application.
Let’s create a docker image.
Create a docker file – right-click on the application and click on the new file.
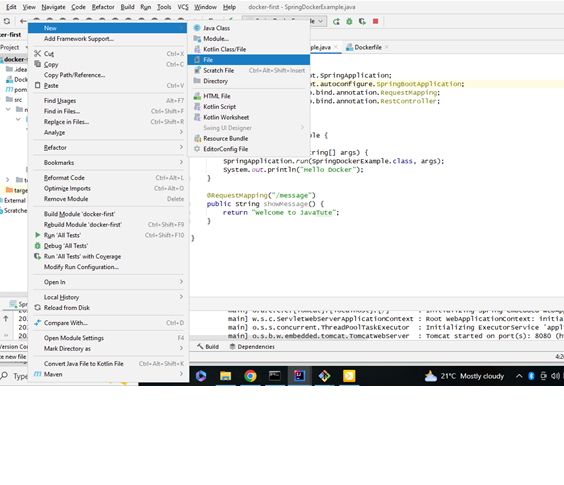
Give the name Dockerfile. It will create a file.
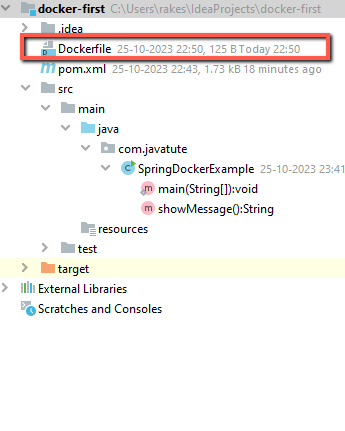
Write below commond to Dockerfile
FROM openjdk:8
EXPOSE 8080
ADD target/docker-first.jar docker-first.jar
ENTRYPOINT ["java", "-jar", "/docker-first.jar"]
Use below command to create image file
Open git bash/cmd terminal where we have application and run below command.
docker build -t docker-first.jar .
Note – After docker-first.jar there is space and then dot.
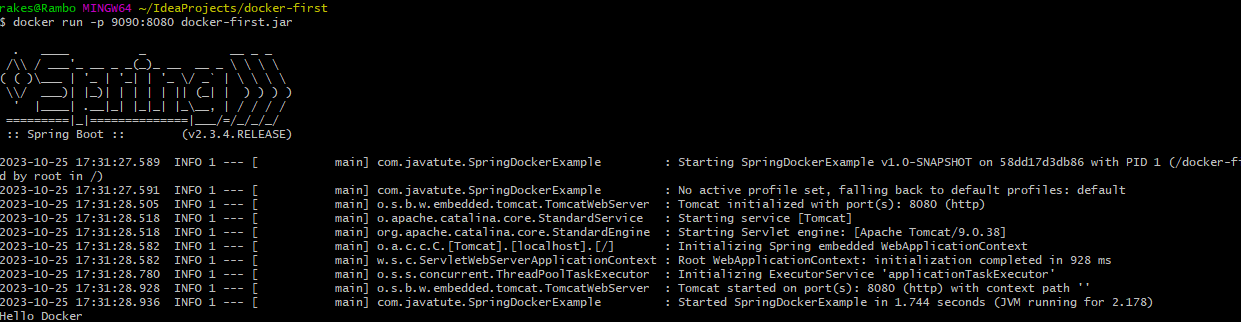
Once image is created, we need run the docker image using below command.
docker run -p 9090:8080 docker-first.jar
Note – 9090 is docker’s port and 8080 is our spring boot application port.
Let’s test the below url
http://localhost:8080/message
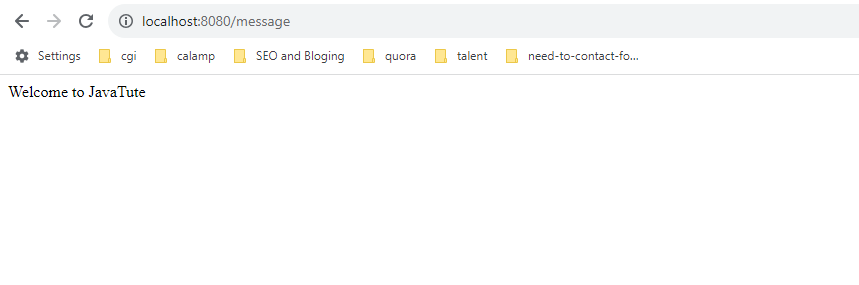
We should able to see our message.
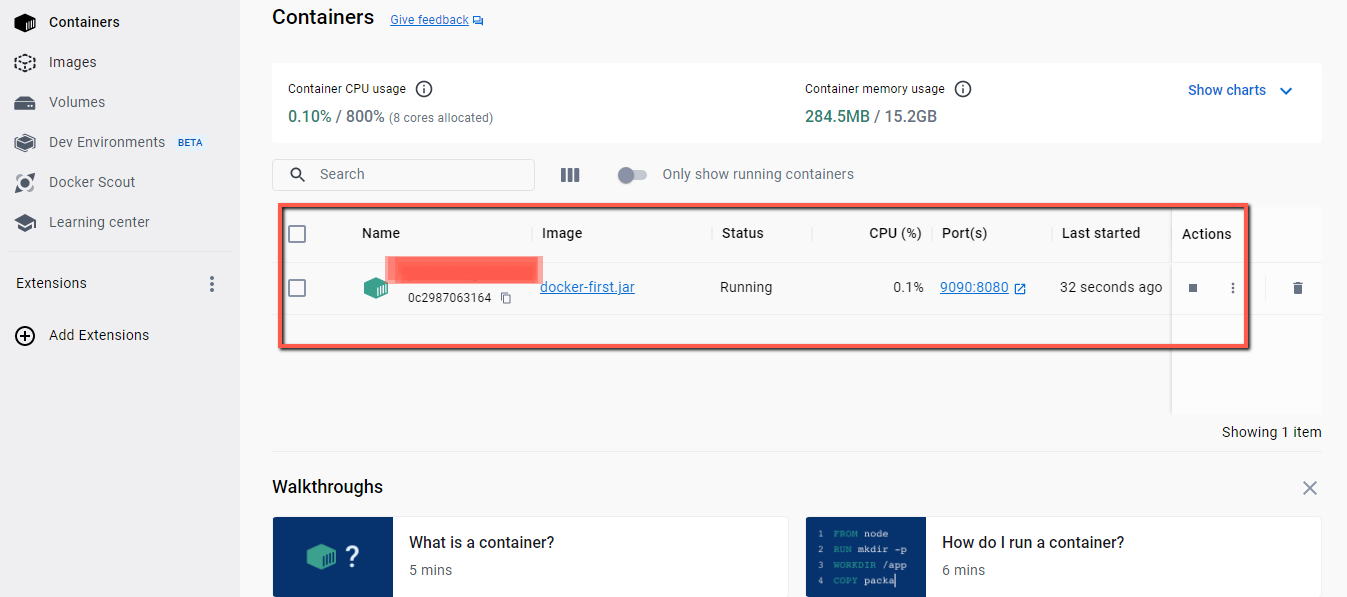
Start docker desktop. We should able to see our image in docker desktop.
That’s all about How to deploy Spring Boot application using Docker.
Summary – In this post we have seen how to install docker and how to run and deploy spring boot application using docker.
Other Spring boot tutorial.
- How to send post body using restTemplate as x-www-form-urlencoded
- Spring Boot CRUD Example With MySQL/PostgreSQL
- Spring Boot JMS ActiveMQ Producer and Consumer Example
- How to get ApplicationContext in Spring Boot
- Deploy Spring boot war in JBOSS EAP server
- How to configure multiple datasource in spring boot


